Hello, my friends!
Long time no see...
Today I would like to share with you absolutely adorable project an Easter Bunny made with the help of XL mold... Yes, I managed to come up with a brilliant idea on how finally reasonably use those L and XL rediculous molds.
Whoever designed those forgot to mention to us crafters that we need to own our own factory producing resin mixes or clay... and even if we can put all our coupons together and get a reasonable price on a big chunk of air clay... did they think of how much the figure will weight???
Yep, those L and XL molds can be used only for liquid gold - chocolate or pastries... No way we, paper crafters can use those...
Well, NatashascrapbooKorner to the rescue...
Yes, we can and I can prove it!


 Have fun! I will catch you later!
Hugs, and Kisses,
Natasha
Long time no see...
Today I would like to share with you absolutely adorable project an Easter Bunny made with the help of XL mold... Yes, I managed to come up with a brilliant idea on how finally reasonably use those L and XL rediculous molds.
Whoever designed those forgot to mention to us crafters that we need to own our own factory producing resin mixes or clay... and even if we can put all our coupons together and get a reasonable price on a big chunk of air clay... did they think of how much the figure will weight???
Yep, those L and XL molds can be used only for liquid gold - chocolate or pastries... No way we, paper crafters can use those...
Well, NatashascrapbooKorner to the rescue...
Yes, we can and I can prove it!
Do not let those Large and XL molds intimidate you…
You do not have to use fancy or very expensive clays or resin mixes to make that work for you.
The old and very simple trick will do an absolutely amazing job for you and you will be able to enjoy crafting again no matter what tricks those craft supplies might through at you...
The answer to our prayers is old and forgotten by many DECOUPAGE.
Yes, that way you are saving your precious pennies for shopping at our shop for example.
Ok, I can hear skeptics already: Do you know how much are they charging for a jar of glue at the store, forget the decoupage mixes...
No worries, I got you covered! Everything you need you have at home already...
Homemade Decoupage with flour recipe:
1 cup flour
½ TbSp of salt
1 cup water – mix well
What this video to find out how? Have fun!
Meanwhile, I will add a list of all the items that you might like to purchase after finishing watching this tutorial:
Item used from Natasha'ScrapbooKorner on Zibbet:
Large green Bunny mold is part of Spring Shabby Chic Easter Inspirational Craft Kit: https://natashascrapbookorner.zibbet.com/spring-easter-shabby-craft-kit
Napkins you can choose from a variety: https://natashascrapbookorner.zibbet.com/shop?utf8=%E2%9C%93&shop_section=&keywords=napkins
The specific napkin that was used to decoupage bunny 5pcs Shabby Flowers Napkins Set - Pink/White: https://natashascrapbookorner.zibbet.com/5pcs-shabby-flowers-napkins-set-pink-white
For decoration of Bunny
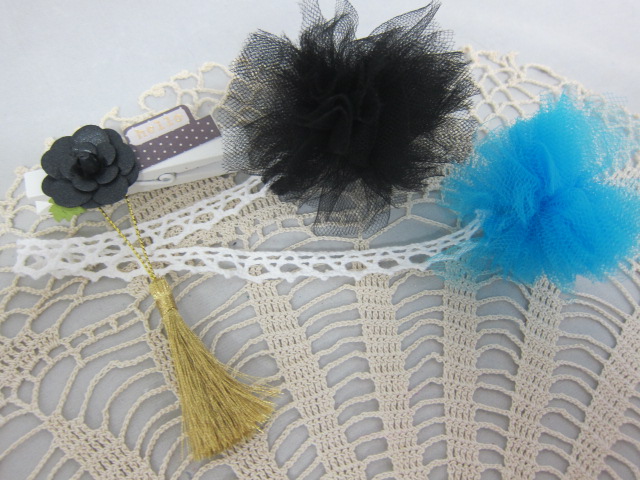
Tu Tu Rosette Tulle Flower: https://natashascrapbookorner.zibbet.com/5pcs-tu-tu-flowers-white
Seam Binding - many colors: https://natashascrapbookorner.zibbet.com/4yds-16-seam-binding-white
XL Crystal Buckle - Silver /Gold: https://natashascrapbookorner.zibbet.com/5-xl-crystal-buckles-silver-gold
Bling Button Pearl Heart Flatback Rhinestone Embellishment - 21 mm Flatback: https://natashascrapbookorner.zibbet.com/10-pearl-heart-buttons-21-mm-green


Hugs, and Kisses,
Natasha